 |
|
 |
Device Configuration Guides
Linksys WIP330
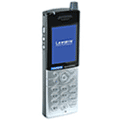
The Linksys WIP330 Wireless-G IP Phone enables high-quality voice over IP (VoIP) service through a Wireless-G network and high-speed Internet connection. Connect at home, your office, or at a public hotspot, and make low-cost phone calls through your Internet Telephony Service Provider.
The handset features peer-to-peer dialing, speed dial, 3-way conferencing, call waiting, call transfer, and call forward, mute, hold and selectable ringtones. The large, full-color high resolution LCD display features an intuitive user interface enabling users to easily and quickly configure the handset when traveling within range of other Wireless-G networks so you can make VoIP calls wherever you go.
Before you begin, make sure your network has an active Internet connection.

Press and hold the Power button for two seconds. The IP Phone will boot up and automatically scan for wireless networks.
|
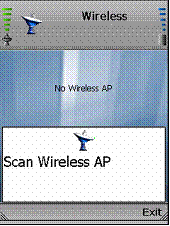
Scan for Wireless Network |

A list of wireless networks will be displayed and show their wireless network names (also known as Service Set Identifier or SSID), security status (a lock indicates wireless security), and signal strength, which is indicated by a bar graph.
Scroll through the network choices, and press the center selection key (in the middle of the navigation pad) to select the wireless network you want to use.
If the network you want is not shown, select Rescan for a new scan. |
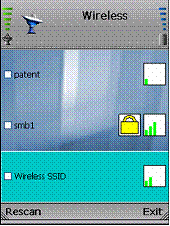
Select Wireless Networks |

The IP Phone will automatically connect to the network you have selected.
|

Connect to Wireless Network
|
If WEP security is enabled on the selected network, a new screen will appear. Using the navigation pad, select the appropriate transmit key number and then move to the WEP Key field.
Enter the network's WEP key. Press the center selection key.
|
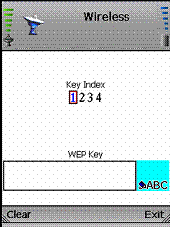
Enter WEP Key (Secured Network)
|
| If WPA security is enabled on the selected network, a new screen will appear. Enter the network's WPA key. Press the center selection key. |
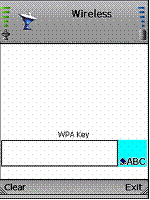
Enter WPA Key (Secured Network)
|

You will be notified when the IP Phone has connected to the network, and a checkmark will appear next to the name of the network.
Select Exit. |
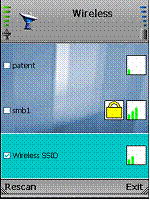
Successful Connection |

The standby screen will appear. Select Menu .
|
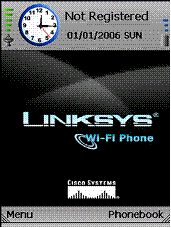
Select Menu |

Phone Settings will be highlighted. Navigate the menu choices, and then select SIP Settings. (SIP stands for Session Initiation Protocol.)
|
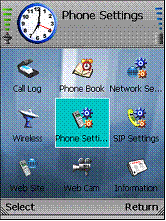
Select SIP Settings |

A list of SIP settings will be displayed. For the Proxy IP setting, select Edit .
|
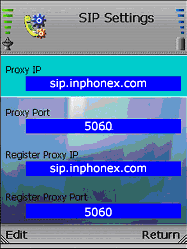
Edit Proxy IP |

Enter the Proxy Server address in the new window, and then press the center selection key.
|
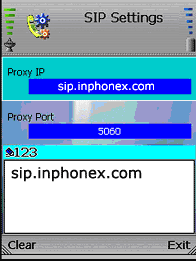
Save Proxy
|
| When you are finished making changes in the advanced settings menu, press the Back Soft Key until you return to the Profile menu. |
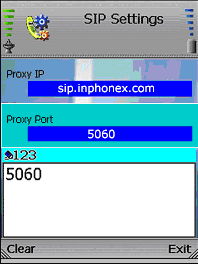
Save Proxy Port
|

Scroll down to Register Proxy IP, and select Edit.
Enter the Register Proxy address in the new window, and then press the center selection key.
|
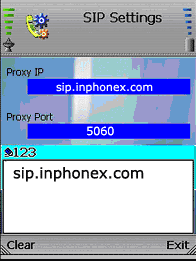
Save Register Proxy IP |

Scroll down to Register Proxy Port, and select Edit.
Enter the Register Proxy Port number in the new window, and then press the center selection key.
. |
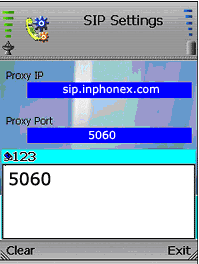
Save Register Proxy Port |

Scroll down to Outbound Proxy IP, and select Edit .
Enter the Outbound Proxy IP address in the new window, and then press the center selection key.
|
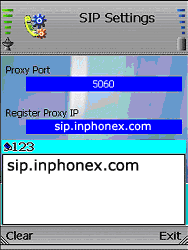
Save Outbound Proxy IP |

Scroll down to Outbound Proxy Port, and select Edit .
Enter the Outbound Proxy Port number in the new window, and then press the center selection key. |
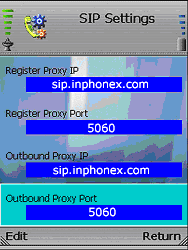
Edit Outbound Proxy Port |

Our default expire time is 3600 seconds
Enter the Expire Time in the new window, and then press the center selection key. |
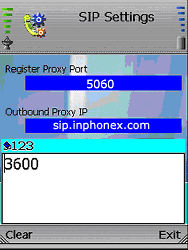
Save Expire Time |

Scroll down to Phone Number, and select Edit.
Enter the Phone Number you will use for Internet phone calls, and then press the center selection key.
|
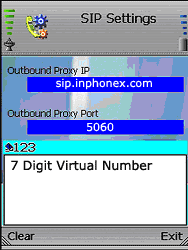
Save Phone Number |

Scroll down to User Name, and select Edit.
Enter the User Name in the new window, and then press the center selection key.
|

|

Scroll down to Password, and select Edit.
Enter the Password, and then press the center selection key. |
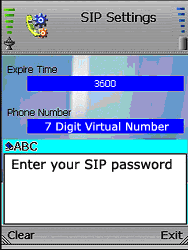
Save Password |

On the SIP Settings screen, select Return.
|

Save SIP Settings |

On the main menu, select Return .
|
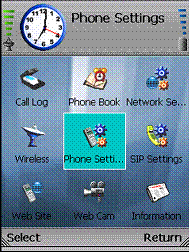
Return to Standby Screen |

The standby screen will indicate that the IP Phone is ready for phone calls.
|
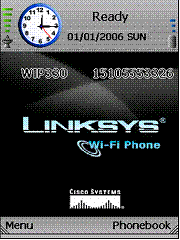
Standby Screen |


|
 |

